AMD graphics driver issues are often linked to leftover files, outdated components, or conflicts between different driver versions. Manually removing every trace of an old installation can be time-consuming and may leave behind unwanted files. AMD Cleanup Utility thoroughly cleans up existing AMD drivers and related components, making it easier to start with a fresh driver installation. Here’s what you need to know before using it, from running the utility to reinstalling the latest drivers afterward.
Basic Info of AMD Cleanup Utility
AMD driver issues can sometimes be difficult to troubleshoot when previous installations leave behind unwanted components. Before looking at solutions, it is helpful to understand the role of AMD Cleanup Utility and why it is used.
What is AMD Cleanup Utility?
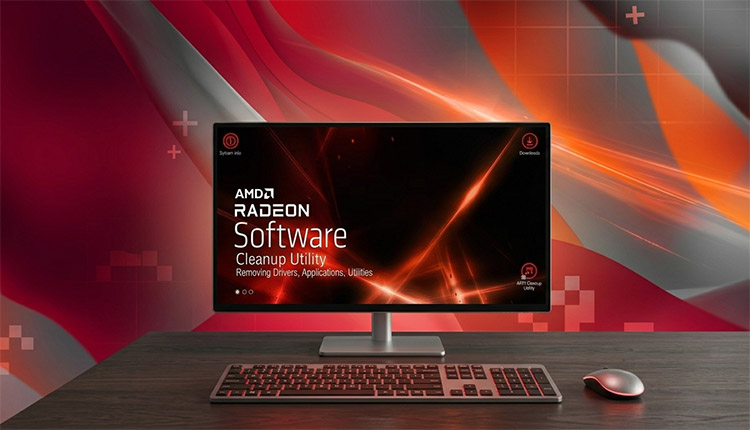
AMD Cleanup Utility is an official AMD tool designed to uninstall drivers (previously installed AMD graphics drivers) and related software components from Windows systems. Unlike the regular Windows uninstall process, which may leave behind some driver files or settings, this utility performs a more thorough cleanup. It is commonly used before installing a new Radeon driver, switching driver versions, or troubleshooting graphics-related problems.
What Does AMD Cleanup Utility Do?
AMD Cleanup Utility clears driver-related data that could interfere with a fresh installation to create a cleaner environment for the latest AMD driver update. While some users search for AMD Cleanup Utility for chipset drivers, the tool is mainly designed for AMD graphics drivers rather than chipset driver removal. AMD Cleanup Utility removes installed AMD display drivers, Radeon Software components, and leftover files that may remain. Then users can perform a fresh AMD Cleanup Utility install process and reinstall the required drivers.
What Issues Can AMD Cleanup Utility Fix?
AMD Cleanup Utility may fix failed driver updates, installation errors, unstable graphics performance, black screen issues, and problems when completing switching between different AMD driver versions. For those deciding between AMD Cleanup Utility vs DDU, AMD Cleanup Utility is a more AMD-focused solution, while DDU is a third-party tool that supports multiple GPU brands. Using the right cleanup tool can make driver troubleshooting easier and improve the chances of a successful reinstall.
How to Run AMD Cleanup Utility?
AMD Cleanup Utility allows users to clear existing AMD driver components before starting with a clean setup. The AMD Cleanup Utility download and installation process is straightforward.
Where to Download AMD Cleanup Utility?
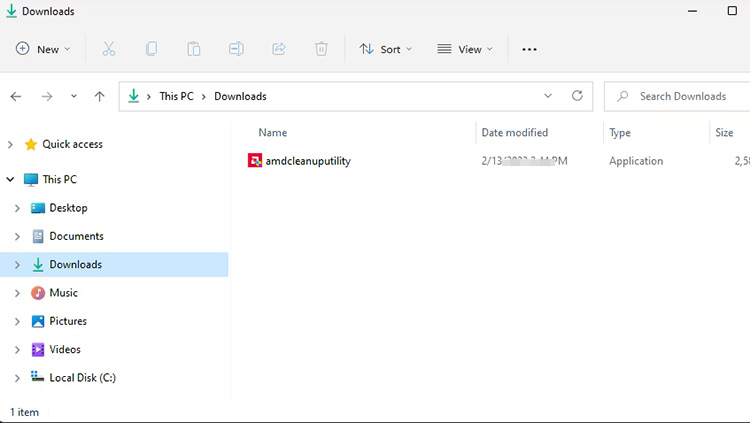
To download and use AMD Cleanup Utility, visit the official FAQ page and locate the Windows download option. Open amdcleanuputility.exe from your Downloads folder. When the tool asks for a restart option, running it in Safe Mode is recommended to remove AMD driver leftovers more thoroughly.
How to Run AMD Cleanup Utility?
Now, follow these steps to run AMD Cleanup Utility in Safe Mode. Using the correct AMD Cleanup Utility installation process can avoid unnecessary driver conflicts.
Step 1. Visit the AMD Cleanup Utility download page and get the standalone tool for Windows. Once the file is saved, open the downloaded amdcleanuputility.exe application from your selected folder to begin the cleanup process.
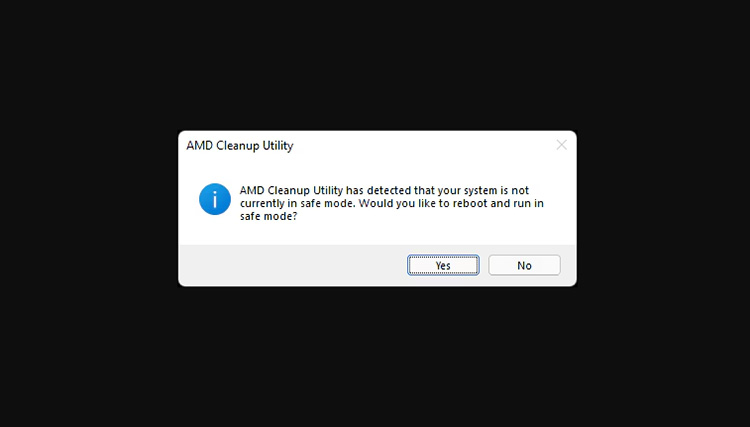
Step 2. A confirmation window will appear. Select the option to restart into Windows Safe Mode for a more complete driver removal.
Step 3. The utility will display information about what the cleanup process will do. Confirm the operation to proceed.
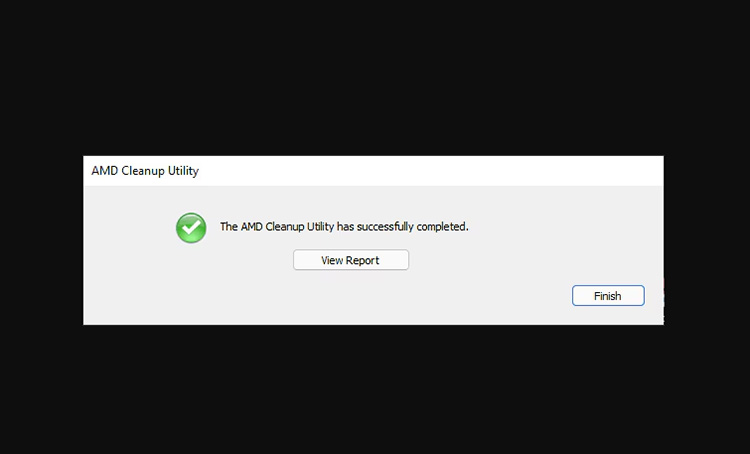
Step 4. When the cleanup finishes, AMD Cleanup Utility will show a completion message. You can check the removal report to review deleted components, then close the tool.
Step 5. Restart your computer afterward to apply all changes and prepare the system for a fresh AMD driver installation.
How to Install New Drivers after Using AMD Cleanup Utility?
The next step is installing a fresh and compatible driver package. A clean driver environment can reduce conflicts, but finding the correct driver version manually may still take time, especially for those with multiple AMD components. AMD Cleanup Utility prepares the system, while a reliable driver updater can simplify the process of detecting and installing the right drivers.
Driver Booster is a convenient option for users who want an automated way to manage AMD driver updates. It can scan the system, identify missing, broken, or outdated AMD graphics and chipset drivers, and recommend compatible versions based on the current hardware and Windows configuration.
Driver Booster Free
- Automatically scan and update drivers.
- Update game ready drivers for peak gaming performance.
- Identify and fix various common of hardware issues.
- Boost 30% of system performance for fast & smooth running.
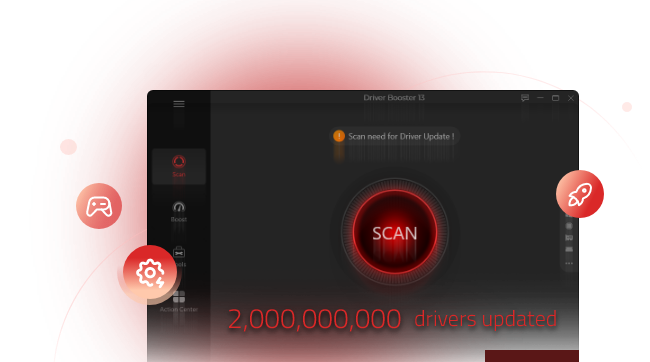
Instead of checking each component individually, users can update multiple drivers in bulk smoothly with a single click. The automatic driver updater offers verified drivers from 1,200+ brands, including AMD, INTEL, and NVIDIA, with safe updates for GPUs and devices. It can also help fix driver compatibility problems and create driver backups, making it easier to restore previous versions if an update causes unexpected issues.
How to Install AMD Drivers with Driver Booster
Step 1. Download Driver Booster on your Windows PC and complete the installation.
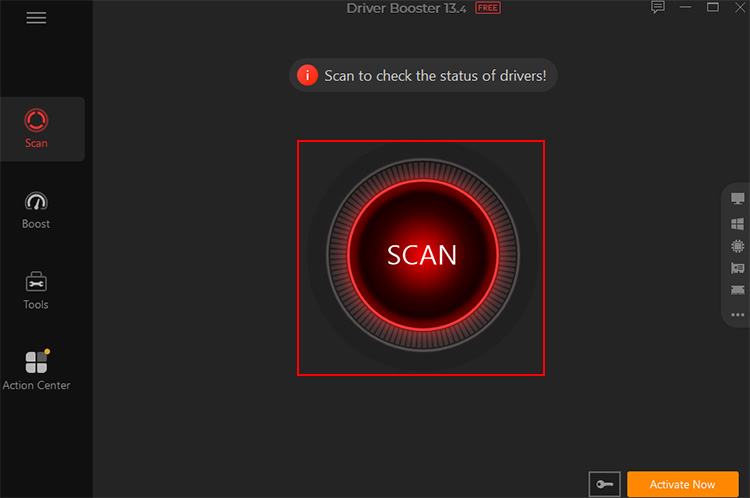
Step 2. Click the Scan button to check your installed hardware, including AMD Radeon graphics cards and other supported AMD components.
Step 3. Select the AMD drivers you want to update, or choose the option to update multiple outdated drivers.
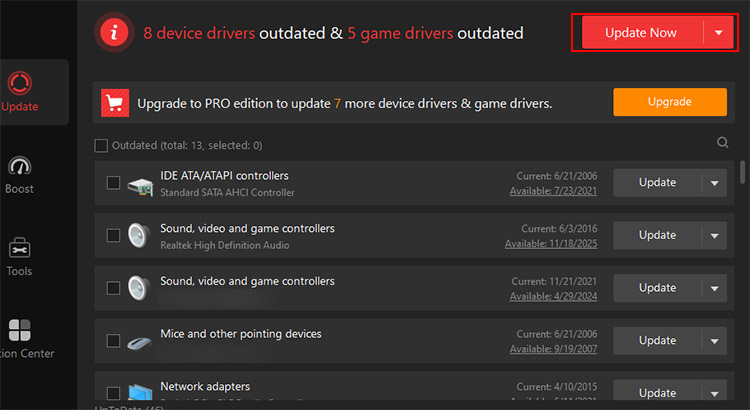
Step 4. Restart your computer when the update is complete to apply the changes. Then check whether your AMD graphics performance and related features are working normally.
FAQs about AMD Cleanup Utility
Is AMD Cleanup Utility safe?
Yes. AMD Cleanup Utility is an official tool developed by AMD for removing AMD graphics driver files and related software components. When downloaded from AMD’s official website and used correctly, it is safe for most users. However, because it removes installed display drivers, your screen resolution or graphics performance may temporarily change until a new driver is installed.
What to Do for Black Screen After AMD Cleanup Utility?
A black screen after AMD Cleanup Utility usually happens because the existing display driver has been removed, leaving Windows temporarily without a proper graphics driver. First, try restarting your PC and checking whether Windows loads normally. If the issue continues, boot into Safe Mode, reinstall the correct AMD graphics driver, or use Windows Update to install a basic display driver. Connecting the monitor directly to the graphics card and checking cable connections can also rule out hardware-related problems.
What to Do When AMD Cleanup Utility is Stuck in Safe Mode?
When AMD Cleanup Utility remains stuck while running in Safe Mode, wait a few minutes first, as the cleanup process may take longer depending on the number of installed components. If it does not respond, you can disable the forced Safe Boot setting manually. Open System Configuration by running msconfig, turn off Safe Boot, select Normal startup, and restart. If Windows still loops, use an administrator Command Prompt and run the appropriate bcdedit /deletevalue command to remove the Safe Mode flag.
AMD Cleanup Utility vs DDU: What are the Similarities and Differences?
AMD Cleanup Utility and Display Driver Uninstaller (DDU) remove graphics drivers completely before a fresh installation. The main difference is their target audience and supported hardware. AMD Cleanup Utility is an official AMD solution focused on Radeon graphics drivers, while DDU is a third-party tool that supports AMD, NVIDIA, and Intel GPUs.
Conclusion
AMD Cleanup Utility provides a simple way to remove old AMD driver components and prepare your system for a clean driver installation. After cleanup, keeping drivers updated is equally important for stability and performance. For an easier experience, try Driver Booster to automatically detect, download, and install compatible drivers with minimal effort.